+86 13924808361
 sales01@syrooftile.com



 Home
HomeHow to Install ASA/ PVC Roof Sheets?
 Mar 18,2025

 Shenyu
Replacing a roof goes far beyond simply securing nails. In today’s world, an efficient roofing system relies on advanced material technology and integrated solutions to safeguard your most valuable asset—your home. Installing an eco-friendly and durable roof can be straightforward. In this guide, we’ll walk you through a few simple steps to help you understand how to install a complete roofing system with ease.
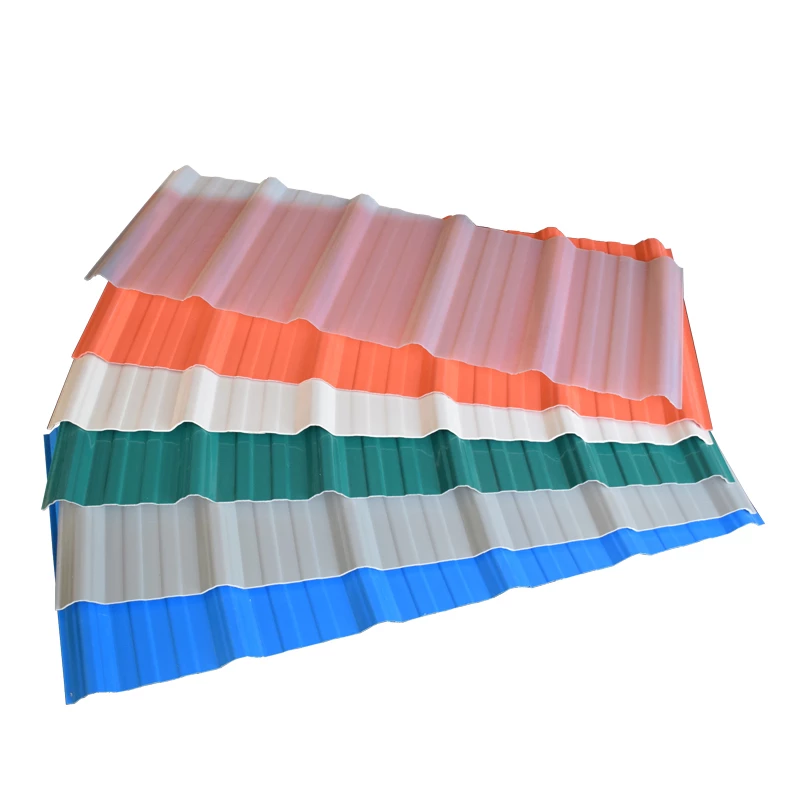
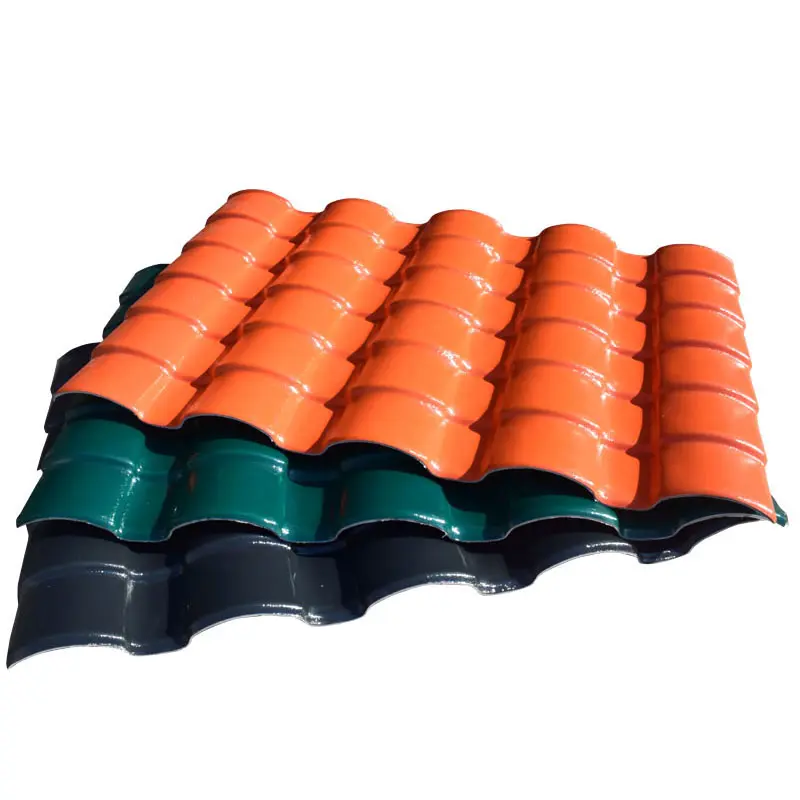
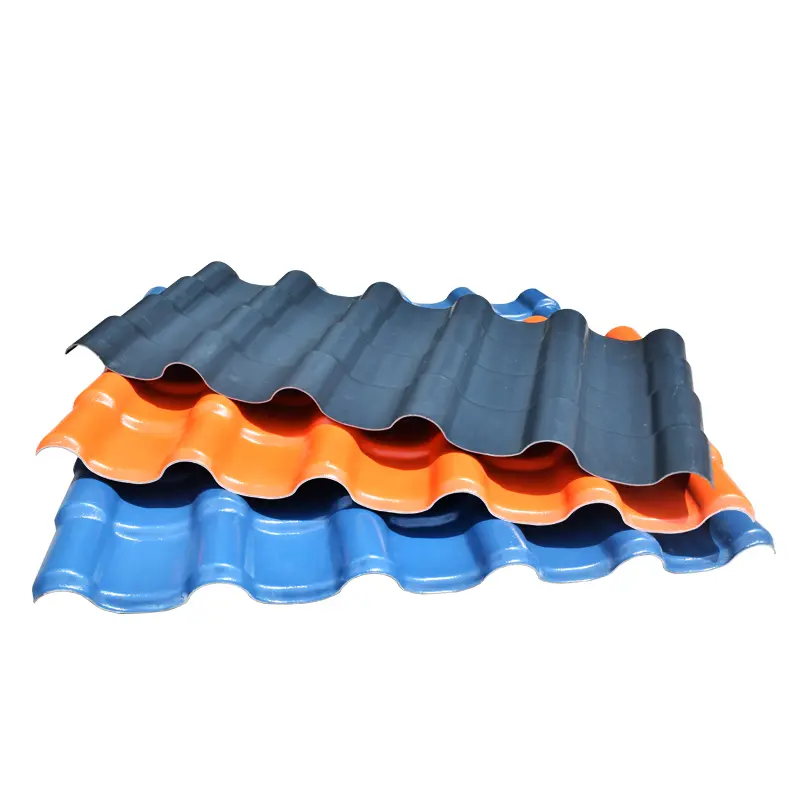
PVC roof sheetsPVC roof sheets, known for their lightweight, waterproof, fire-resistant, earthquake-proof, and wind-resistant properties, are a versatile choice for various roofing structures. Whether it’s cast-in-place concrete slopes, wooden slopes, or steel-framed slopes, PVC roof sheets offer reliable and long-lasting protection for both new construction and renovation projects.
Keep reading to discover the essential steps and tips for a successful PVC roof sheet installation!
PVC roof sheetsPVC roof sheets, known for their lightweight, waterproof, fire-resistant, earthquake-proof, and wind-resistant properties, are a versatile choice for various roofing structures. Whether it’s cast-in-place concrete slopes, wooden slopes, or steel-framed slopes, PVC roof sheets offer reliable and long-lasting protection for both new construction and renovation projects.
Keep reading to discover the essential steps and tips for a successful PVC roof sheet installation!
Installing PVC roof sheets is a straightforward process, but it requires careful planning and attention to detail to ensure a durable and watertight installation. Here’s a step-by-step guide:
Step 1: Gather Tools and Materials
Tools: Drill, screws, measuring tape, saw, screwdriver, safety gear (gloves, goggles), ladder, and sealant gun.
Materials: PVC roof sheets, screws with rubber washers, sealant, underlayment (if needed), and ridge caps.
Step 2: Prepare the Roof Surface
Inspect the Roof Frame: Ensure the roof frame is sturdy, level, and free from damage.
Install Underlayment (Optional): If required, lay a waterproof underlayment to provide extra protection against moisture.
Measure and Plan: Measure the roof area and plan the layout of the PVC sheets to minimize cutting and ensure proper alignment.
Step 3: Install the PVC Roof Sheets
Start at the Eave: Begin installing the sheets from the bottom edge (eave) of the roof, working your way up to the ridge.
Overlap Sheets: Overlap each sheet by at least 150mm (6 inches) to prevent water leakage. Ensure the overlap follows the direction of water flow.
Secure the Sheets: Use screws with rubber washers to fix the sheets to the roof frame. Place screws at the crest of the corrugations or trapezoidal profile, not in the troughs, to avoid water pooling.
Spacing: Space screws approximately 300mm (12 inches) apart along the edges and 500mm (20 inches) in the middle of the sheet.
Step 4: Seal Joints and Edges
Apply Sealant: Use a high-quality PVC-compatible sealant on overlapping edges, joints, and around screws to ensure a watertight seal.
Install Ridge Caps: Cover the ridge with PVC ridge caps and secure them with screws. Seal the edges to prevent water ingress.
Step 5: Finishing Touches
Trim Excess Material: Cut any overhanging sheets to ensure a neat finish.
Inspect the Installation: Check for gaps, loose screws, or areas that may need additional sealing.
Clean the Roof: Remove any debris or dust from the installation process.
Tips for Success
Work in Good Weather: Avoid installing PVC sheets in extreme heat, cold, or wet conditions.
Follow Manufacturer Guidelines: Always refer to the manufacturer’s instructions for specific installation requirements.
Safety First: Use proper safety gear and work with a partner if possible.
Step 1: Gather Tools and Materials
Tools: Drill, screws, measuring tape, saw, screwdriver, safety gear (gloves, goggles), ladder, and sealant gun.
Materials: PVC roof sheets, screws with rubber washers, sealant, underlayment (if needed), and ridge caps.
Step 2: Prepare the Roof Surface
Inspect the Roof Frame: Ensure the roof frame is sturdy, level, and free from damage.
Install Underlayment (Optional): If required, lay a waterproof underlayment to provide extra protection against moisture.
Measure and Plan: Measure the roof area and plan the layout of the PVC sheets to minimize cutting and ensure proper alignment.
Step 3: Install the PVC Roof Sheets
Start at the Eave: Begin installing the sheets from the bottom edge (eave) of the roof, working your way up to the ridge.
Overlap Sheets: Overlap each sheet by at least 150mm (6 inches) to prevent water leakage. Ensure the overlap follows the direction of water flow.
Secure the Sheets: Use screws with rubber washers to fix the sheets to the roof frame. Place screws at the crest of the corrugations or trapezoidal profile, not in the troughs, to avoid water pooling.
Spacing: Space screws approximately 300mm (12 inches) apart along the edges and 500mm (20 inches) in the middle of the sheet.
Step 4: Seal Joints and Edges
Apply Sealant: Use a high-quality PVC-compatible sealant on overlapping edges, joints, and around screws to ensure a watertight seal.
Install Ridge Caps: Cover the ridge with PVC ridge caps and secure them with screws. Seal the edges to prevent water ingress.
Step 5: Finishing Touches
Trim Excess Material: Cut any overhanging sheets to ensure a neat finish.
Inspect the Installation: Check for gaps, loose screws, or areas that may need additional sealing.
Clean the Roof: Remove any debris or dust from the installation process.
Tips for Success
Work in Good Weather: Avoid installing PVC sheets in extreme heat, cold, or wet conditions.
Follow Manufacturer Guidelines: Always refer to the manufacturer’s instructions for specific installation requirements.
Safety First: Use proper safety gear and work with a partner if possible.
 Synthetic Roof Tile Installation: Avoiding 7 Critical Dimension Mistakes